

 |
This is Leah the Fierce. She wanted an armor to wear for the Meow opening and asked if I could help. I had never made an armor for a leopard before, but I decided to give it a try. |
 |
The first thing I had to do was get some measurements. I did this by making paper templates and test-fitting them on Leah. By doing this, I not only knew that the parts would fit, but I would also have a template for cutting out the foam I would use to build the armor. |
 |
Once all the parts were measured and checked I placed the templates on the foam and cut them out. |
 |
Leopards are not flat, so I had to shape the pieces with an iron to get them to hold a curved shape. I placed the foam between layers of paper towel so that it wouldn’t melt to the iron. |
 |
The end result was armor pieces that were much more leopard shaped. |
 |
A second test fitting to make sure that all the pieces still fit well. As it turns out, a few parts needed to be reshaped and one needed to be completely recut to better fit. I then attached the parts together with a glue gun. |
 |
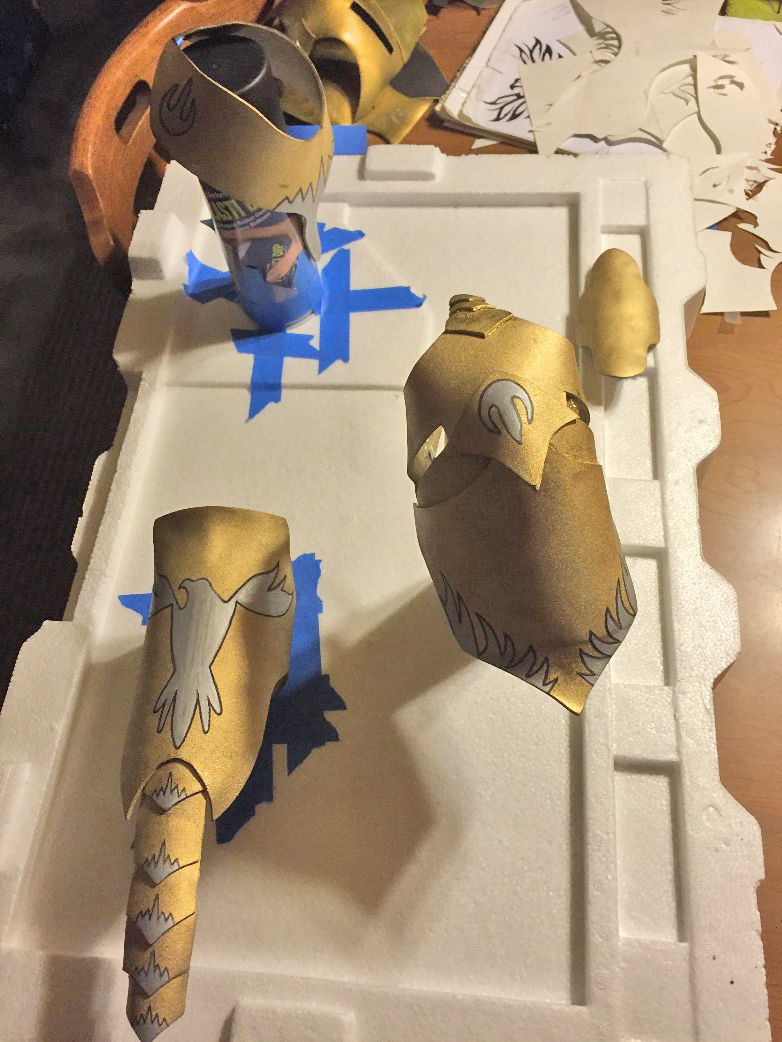
After gluing, the parts were painted with two layers of metallic gold spray paint. The paint dries quickly on the foam and I was able to complete the painting in less than two hours. |
 |
Another test fitting and then small bits of elastic were added to the chin, chest, backplate, and tail to help hold the armor in place, but make it removable. |
 |
I then added decoration. I cut stencils for the patterns, then traced them with a black magic marker. Once the outlines were done I filled them in with silver magic marker. The black lines and silver fill both took two to three coats. |
 |
Once the details were done I gave the armor a final light spraycoat of clear lacquer. This helped even out the finish and gave the armor a bit of shine. |
 |
The parts were left to dry overnight and then we were ready for the final fitting. |
 |
Leah seemed pleased with her new armor. |
 |
These are all of the paper templates and stencils used for the armor. The total cost of making the armor was less than $20. The cutout and assembly went very quickly. This is a project that a child and parent could do in one day. |
- Bill MacMillan, Project Conservator of Objects, Higgins Collection


